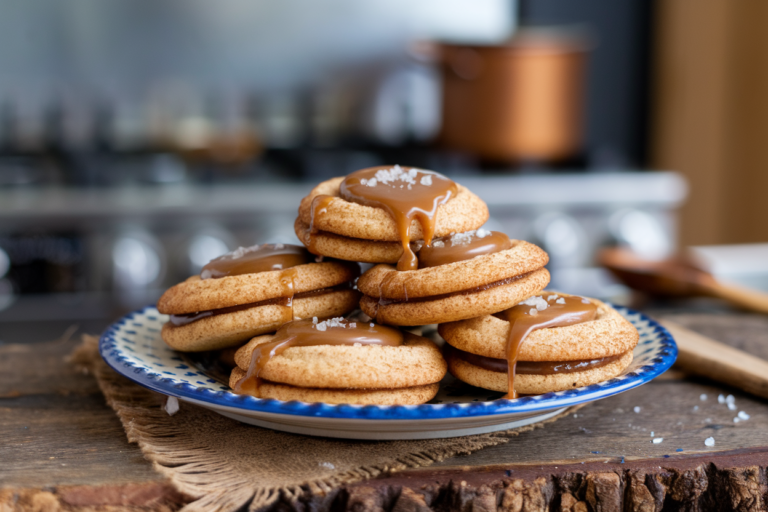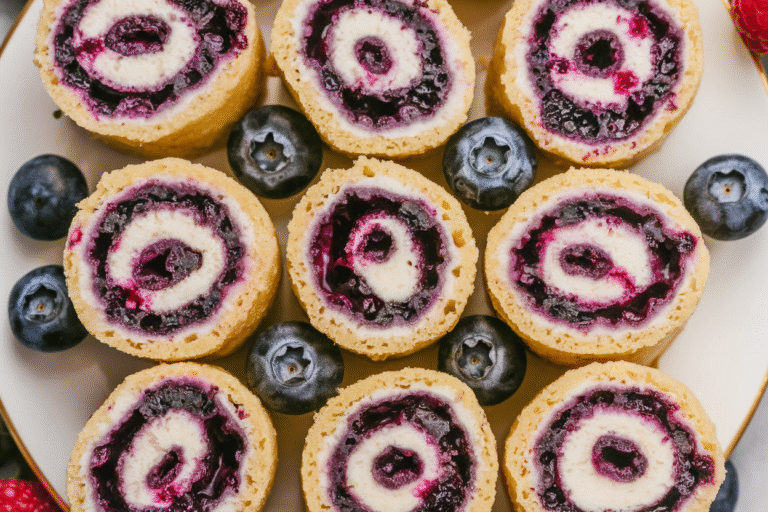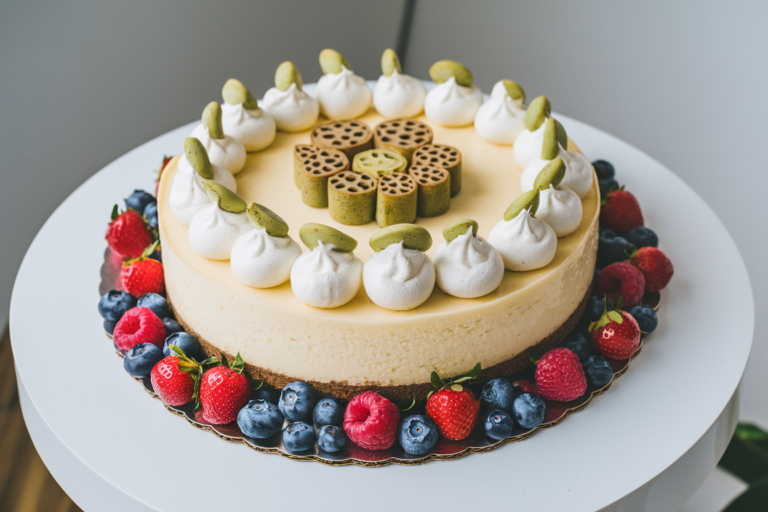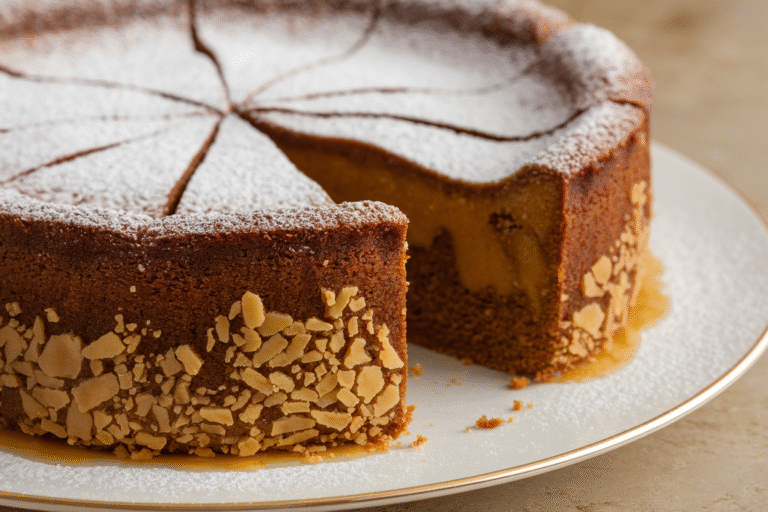
No-Bake Peanut Butter Cheesecake Bites (Easy Recipe)
You know those moments when you crave dessert but the oven is a hard pass? Enter the No-Bake Peanut Butter Cheesecake BitesJump to Recipe Card
Why This Recipe Works
This recipe nails it because it combines simplicity with flavor-packed indulgence.
The no-bake method means you skip the oven, which makes it super accessible for anyone, from kitchen newbies to busy bees. Using cream cheese and peanut butter gives you that silky texture balanced with a punch of nutty flavor, while the crust adds a satisfying crunch. Plus, the bites are perfectly portioned, so you can enjoy them guilt-free (well, as guilt-free as cheesecake gets).
No churning, no fuss – just straight-up deliciousness that hits the spot every time.
Ingredients Breakdown
- 1 cup graham cracker crumbs
- 2 tbsp unsalted butter, melted
- 8 oz cream cheese, softened
- 1/2 cup creamy peanut butter
- 1/3 cup powdered sugar
- 1/2 tsp vanilla extract
- 1/4 cup heavy cream (or whipped topping for a lighter option)
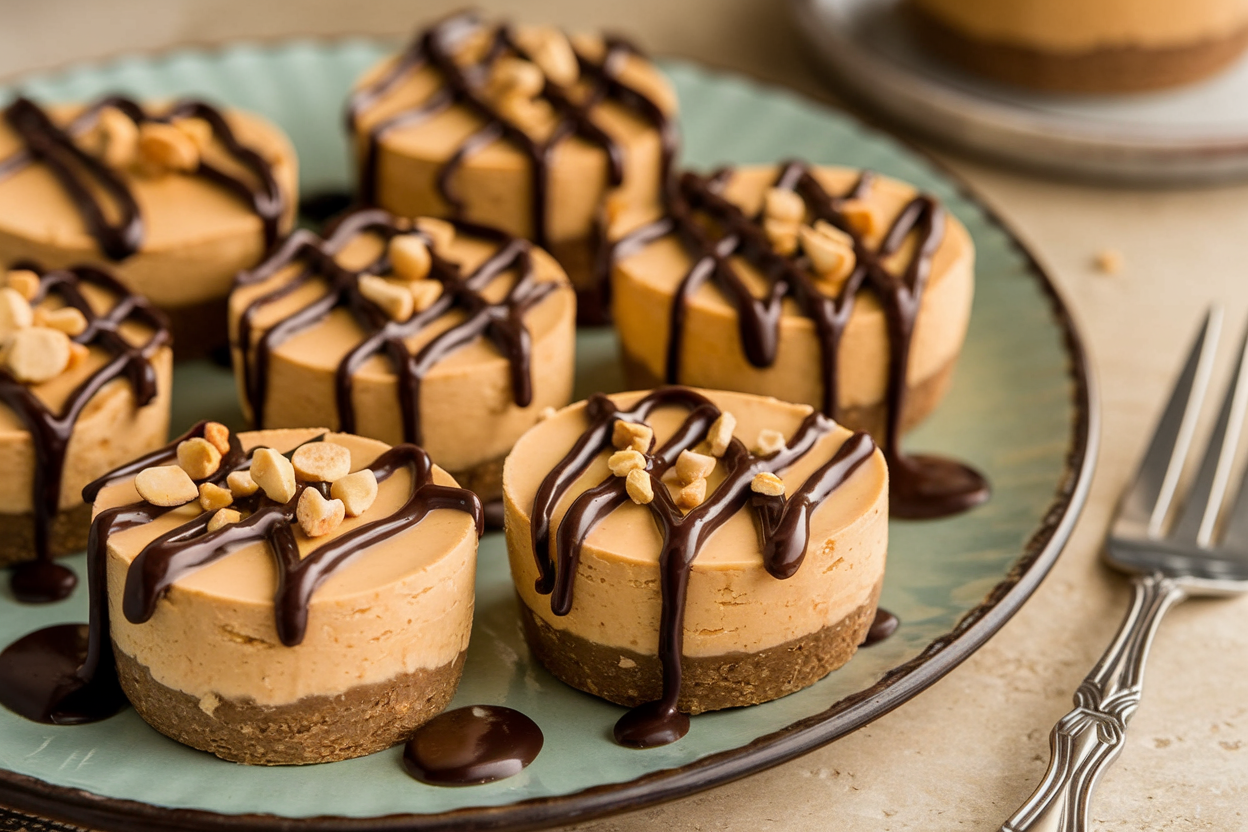
- Optional toppings: chocolate chips, chopped peanuts, or a drizzle of melted chocolate
Let’s Get Cooking – Instructions
- Prepare the crust: Mix graham cracker crumbs with melted butter until the mixture resembles wet sand. Press firmly into the bottom of a mini muffin tin or silicone mold for bite-sized bases.
- Chill the crust: Pop the crust-filled tray into the fridge for about 15 minutes so it firms up nicely.
- Create the filling: In a bowl, beat softened cream cheese and peanut butter until creamy and smooth. Add powdered sugar and vanilla extract; blend well.
- Whip it: In a separate bowl, whip the heavy cream until soft peaks form, then gently fold it into your peanut butter mixture.
This keeps the bites light and fluffy instead of dense.
- Fill ‘em up: Spoon or pipe the filling onto the chilled crusts, filling each to the top for a neat presentation.
- Top it off (optional): Sprinkle with chocolate chips, peanuts, or drizzle melted chocolate for that extra flair.
- Let them set: Refrigerate for at least 3 hours, preferably overnight, so the bites firm up perfectly.
- Enjoy! Pop these bad boys out of the mold and serve – they’re bite-sized, no-fuss, and totally irresistible.
Preservation Guide
Keep these cheesecake bites in an airtight container in the fridge for up to 5 days. They’re best enjoyed fresh, but they do hold their flavor and texture well after a couple of days. Planning to stash some for later?
You can freeze them wrapped individually for up to a month. Just thaw in the fridge overnight before digging in. FYI, freezing might make the texture a tad denser, but the flavor stays on point.
Why This is Good for You
While these treats are pure indulgence, they do pack some redeeming qualities.
Peanut butter provides protein and healthy fats, which keep you fuller longer and may boost your mood (yes, cheesecake therapy is a thing). Plus, cream cheese contains calcium and vitamin A. By choosing natural peanut butter and controlling sugar intake, you’re creating a dessert that’s a notch above standard processed snacks.
IMO, a little dessert that also gives you some nutritional perks is a win.
Common Mistakes to Avoid
- Using cold cream cheese: Not softening it first leads to lumps in your filling. No one wants surprise lumps in their bites.
- Skipping the chilling step: The crust won’t set properly without fridge time, and you’ll end up with crumbly messes instead of sturdy bases.
- Overwhipping the cream: This can cause your filling to curdle or become grainy. Stop whipping once soft peaks form.
- Filling the molds unevenly: It looks amateur and makes for uneven bites.
Use a piping bag or spoon carefully for pros-level presentation.
- Neglecting to refrigerate long enough: They need time to firm up and meld flavors, so don’t rush the patience part.
Alternatives
Not a peanut butter fan? No problem. Swap the peanut butter for almond butter or sunflower seed butter for a twist.
For a chocolate lover, stir in some cocoa powder or fold in mini chocolate chips into the filling. Crust-wise, crushed digestive biscuits or chocolate graham crackers can add a new flavor dimension. Want a vegan version?
Try using dairy-free cream cheese and coconut cream instead of heavy cream. Basically, this recipe is your playground – get creative.
FAQ
Can I make these bites ahead of time?
Absolutely! These bites actually taste better the next day after all the flavors have melded.
Just keep them refrigerated and covered, and enjoy within 5 days or freeze for longer storage.
What if I don’t have graham crackers?
Crushed digestive biscuits, vanilla wafers, or even crushed pretzels work surprisingly well as the crust. Just make sure to adjust the butter a bit to get that perfect crumbly texture.
How do I avoid the filling from being too dense?
Whipping the heavy cream to soft peaks before folding it gently into the filling is the key to keeping things light and fluffy. Resist the urge to overmix once you add the cream.
Can I make them nut-free?
Definitely.
Swap peanut butter with sunflower seed butter or soy nut butter for a safe, nut-free alternative that still tastes amazing.
Can I double this recipe?
Go for it! Just keep the ratios the same and use a bigger mold or multiple trays. Just don’t crowd them in the fridge when setting—they need space to chill evenly.
The Bottom Line
No-Bake Peanut Butter Cheesecake Bites are your ultimate easy-win dessert, combining convenience and crave-worthy taste effortlessly.
They deliver rich flavor, creamy texture, and that addictive peanut butter punch—all without heating up your kitchen or spending hours cooking. Whether you’re impressing guests, dealing with a sudden sweet tooth, or just want an effortless snack, these bites have your back. Give them a shot, and prepare for serious compliments (and zero leftover crumbs).
Your new favorite dessert hack is officially here.
Printable Recipe Card
Want just the essential recipe details without scrolling through the article? Get our printable recipe card with just the ingredients and instructions.