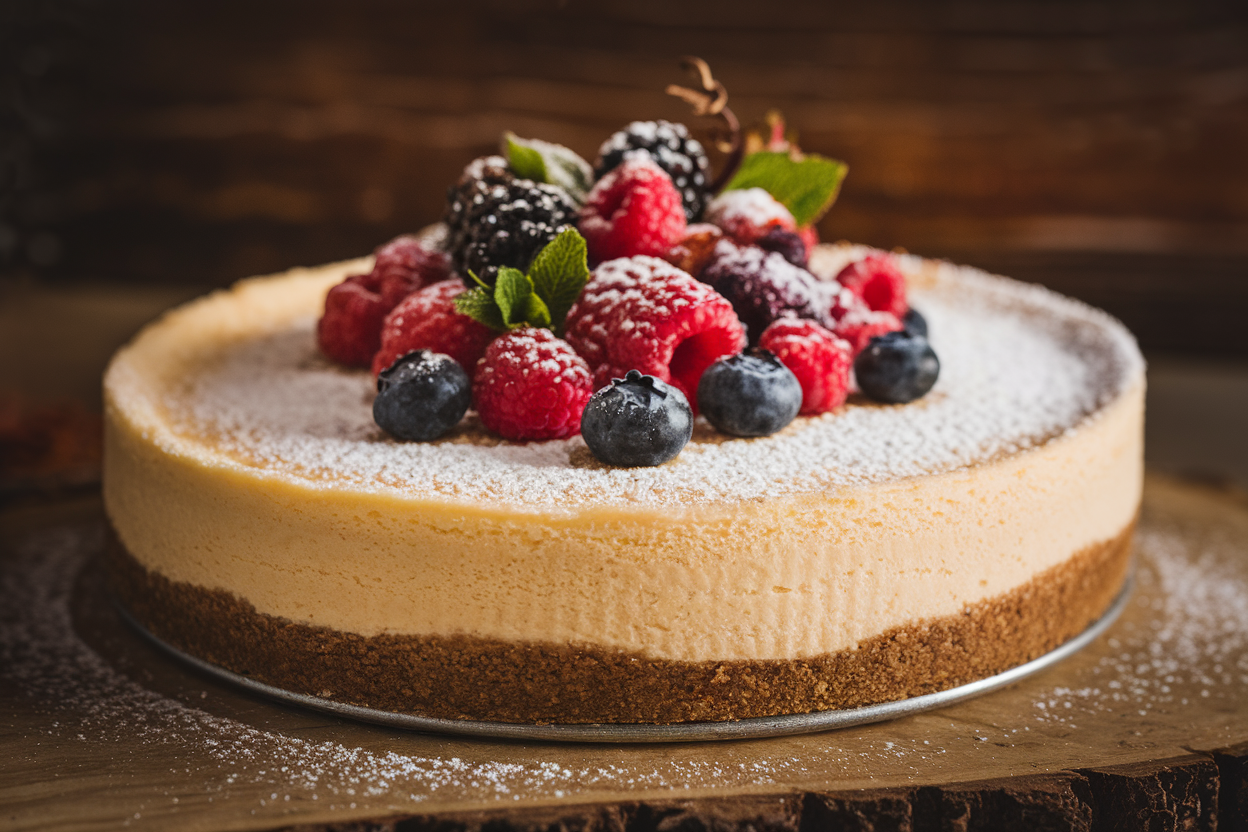
Unlock the Creamy Magic: How to Nail the Perfect Classic Vanilla Bean Cheesecake Every Time!
Cheesecake isn’t just dessert—it’s an experience. There’s something hypnotic about that creamy, velvety texture paired with the subtle warmth of real vanilla beans that feels like a hug from the inside. If you’ve been stuck with bland, runny, or just ‘meh’ cheesecakes, trust me—you’re about to change the game.
This classic vanilla bean cheesecake recipe is foolproof and irresistible, with just enough decadence to make you forget about that gym membership. Ready to make a cheesecake worthy of your Instagram feed and your taste buds? Let’s go.
The Secret Behind This Recipe
The magic here lies in simplicity and quality.
Real vanilla beans—not extracts—are the MVPs, delivering a deep, floral vanilla flavor that store-bought extracts simply can’t compete with. Plus, the smooth, rich cream cheese combined with a hint of sour cream creates a texture that screams “luxury.” No cracks, no soggy bottoms, just a cheesecake that slices perfectly and melts beautifully in your mouth. Balance is everything: the crust is buttery and slightly sweet, the filling is dense yet airy, and the finish is clean and fresh.
What You’ll Need (Ingredients)
- For the Crust:
- 1 ½ cups graham cracker crumbs
- 5 tablespoons unsalted butter, melted
- 2 tablespoons granulated sugar
- For the Filling:
- 4 (8-ounce) packages cream cheese, softened
- 1 cup granulated sugar
- 1 teaspoon pure vanilla bean paste or seeds scraped from 1 vanilla bean
- 4 large eggs, at room temperature
- 2/3 cup sour cream
- 2/3 cup heavy cream
- 2 tablespoons all-purpose flour
Cooking Instructions
- Prep the crust: Preheat your oven to 325°F (160°C).
Mix graham cracker crumbs, melted butter, and sugar until combined. Press this mixture evenly into the bottom of a 9-inch springform pan, pushing it slightly up the sides.
- Bake the crust: Bake crust for 10 minutes, then remove and cool slightly.
- Make the filling: Beat softened cream cheese on medium speed until ultra-smooth and creamy, about 2-3 minutes (no lumps allowed). Gradually add sugar and vanilla bean paste or seeds.
Mix until well combined.
- Add eggs one at a time: Reduce mixer speed to low. Add eggs slowly, mixing until just blended. Overmixing = cracked cheesecake (don’t ask how we know).
- Mix in the rest: Fold in sour cream, heavy cream, and flour until smooth.
Scrape down bowl edges to keep everything cohesive.
- Bake the cheesecake: Pour filling over crust. Place the springform pan in a large roasting pan. Fill the roasting pan with hot water halfway up the sides of the springform (water bath method to prevent cracking).
Bake for 1 hour 15 minutes to 1 hour 30 minutes, or until the center jiggles slightly when shaken.
- Cool it right: Turn off oven and leave cheesecake inside with door ajar for 1 hour. Then, remove and chill in the fridge for at least 6 hours—overnight is better.
- Serve like a pro: Run a thin knife around the edges before unlocking the springform. Slice with a warm, dry knife for clean cuts.
How to Store
Store your masterpiece in the fridge, tightly covered with plastic wrap or foil.
Cheesecake lasts about 4-5 days, but honestly, it rarely sticks around that long. For longer storage, freeze it uncovered until solid, then wrap tightly with plastic and foil—good for up to 3 months. Thaw overnight in the fridge and give it a little fresh vanilla bean garnish before serving.
Why This is Good for You
Look, full-fat cream cheese and heavy cream aren’t exactly kale smoothies, but baked goods can still pack a nutritional punch.
Cream cheese delivers calcium and protein, and the eggs add essential amino acids. Using real vanilla bean means less reliance on artificial flavorings and loads of antioxidants. Plus, enjoying a slice of homemade cheesecake can seriously boost your mood—science actually backs this one up.
So don’t feel guilty about indulging (in moderation, of course).
Common Mistakes to Avoid
- Not using room temperature ingredients: Cream cheese and eggs that are cold cause a lumpy filling. Warm everything up!
- Overmixing the batter: Introduces too much air, which leads to cracks and an unpleasant texture.
- Skipping the water bath: This prevents cracks by keeping the oven environment moist—do it or regret it.
- Baking at too high a temperature: Cheesecake is delicate. Too hot, and it cakes instead of creamy.
- Cutting too soon: Cheesecake sets as it cools.
Rushing this step makes it crumble or fall apart.
Different Ways to Make This
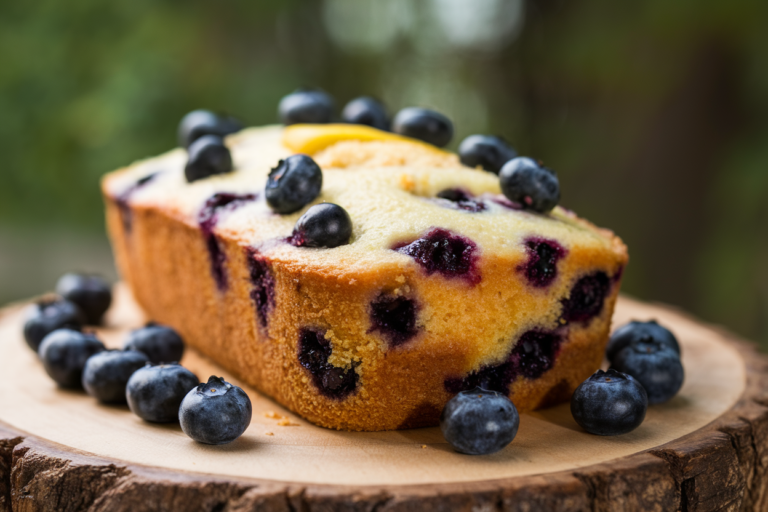
- Swirl in raspberry or blueberry sauce: Add swirls before baking for a fruity, colorful twist.
- Chocolate lover’s edition: Mix in melted dark chocolate or cocoa powder for a mocha vibe.
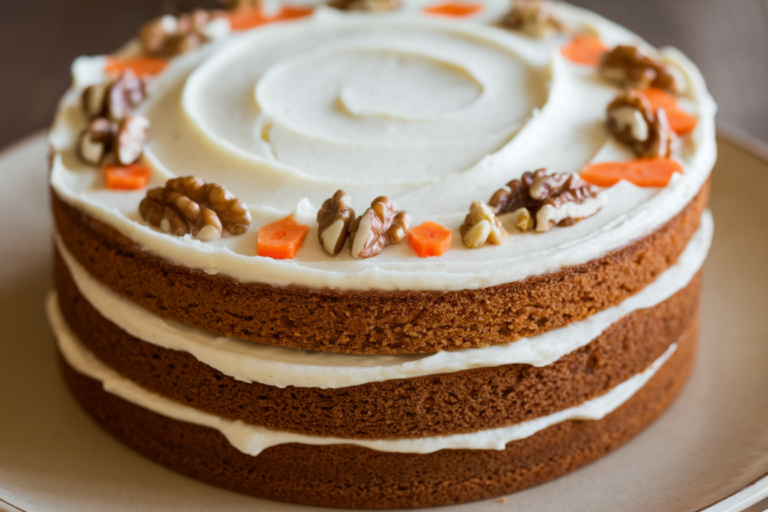
- Nutty crust upgrade: Swap graham cracker crumbs with crushed pecans or almonds for extra crunch.
- Dairy-free version: Use vegan cream cheese and coconut cream, but expect a slight texture change.
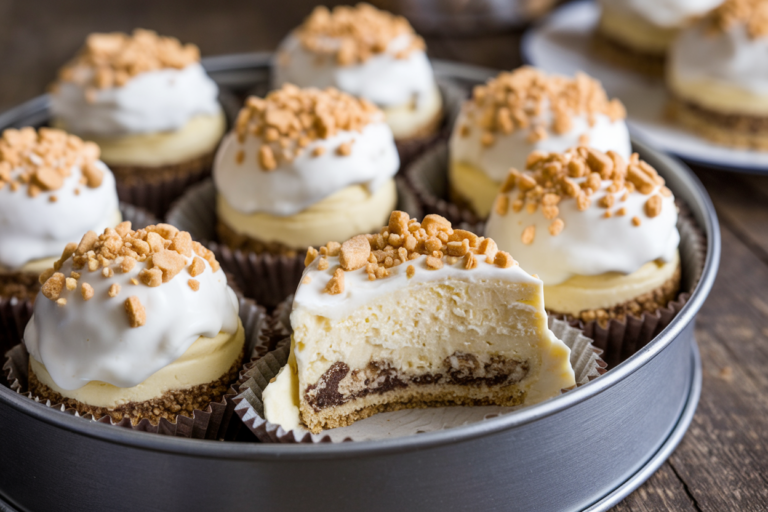
- Mini cheesecakes: Use muffin tins lined with parchment or liners for adorable bite-sized portions.
Frequently Asked Questions
Can I use vanilla extract instead of vanilla bean?
Yes, you can substitute 2 teaspoons of pure vanilla extract if you don’t have vanilla beans or paste. Just don’t expect the same intense, aromatic flavor vanilla beans deliver.
Why did my cheesecake crack?
Cracks usually happen from overmixing, baking at too high a temperature, or not using a water bath. Slow cooling is crucial, too—never rush the chilling process.
How do I fix a runny cheesecake?
A runny texture often means underbaking.
Bake until the edges are set and the center jiggles slightly—not liquid. Also, double-check ingredient ratios and temperature settings.
Can I make this cheesecake ahead of time?
Absolutely! It actually benefits from chilling overnight as it sets and flavors deepen.
Just cover tightly and store in the fridge.
What’s the best way to serve cheesecake?
Serve plain or topped with fresh berries, a drizzle of chocolate or caramel sauce, or a dollop of whipped cream. Warm knife = clean slices.
My Take
I’m convinced that mastering this classic vanilla bean cheesecake is like a rite of passage in the baking world. It’s deceptively simple but insanely rewarding.
I’ve seen people swear off cheesecake after a failed batch, but this recipe is designed to save you from heartbreak. I recommend embracing the slow and steady cooking steps and never rushing the cooling process. If you want a dessert that’s effortlessly elegant but also grounded in real flavor, this is it.
Plus, you’ll impress literally everyone who dares to take a slice. And isn’t that worth the tiny bit of effort? Now go forth, bake, and treat yourself—you deserve it.
Printable Recipe Card
Want just the essential recipe details without scrolling through the article? Get our printable recipe card with just the ingredients and instructions.